How to Make a Family Tree
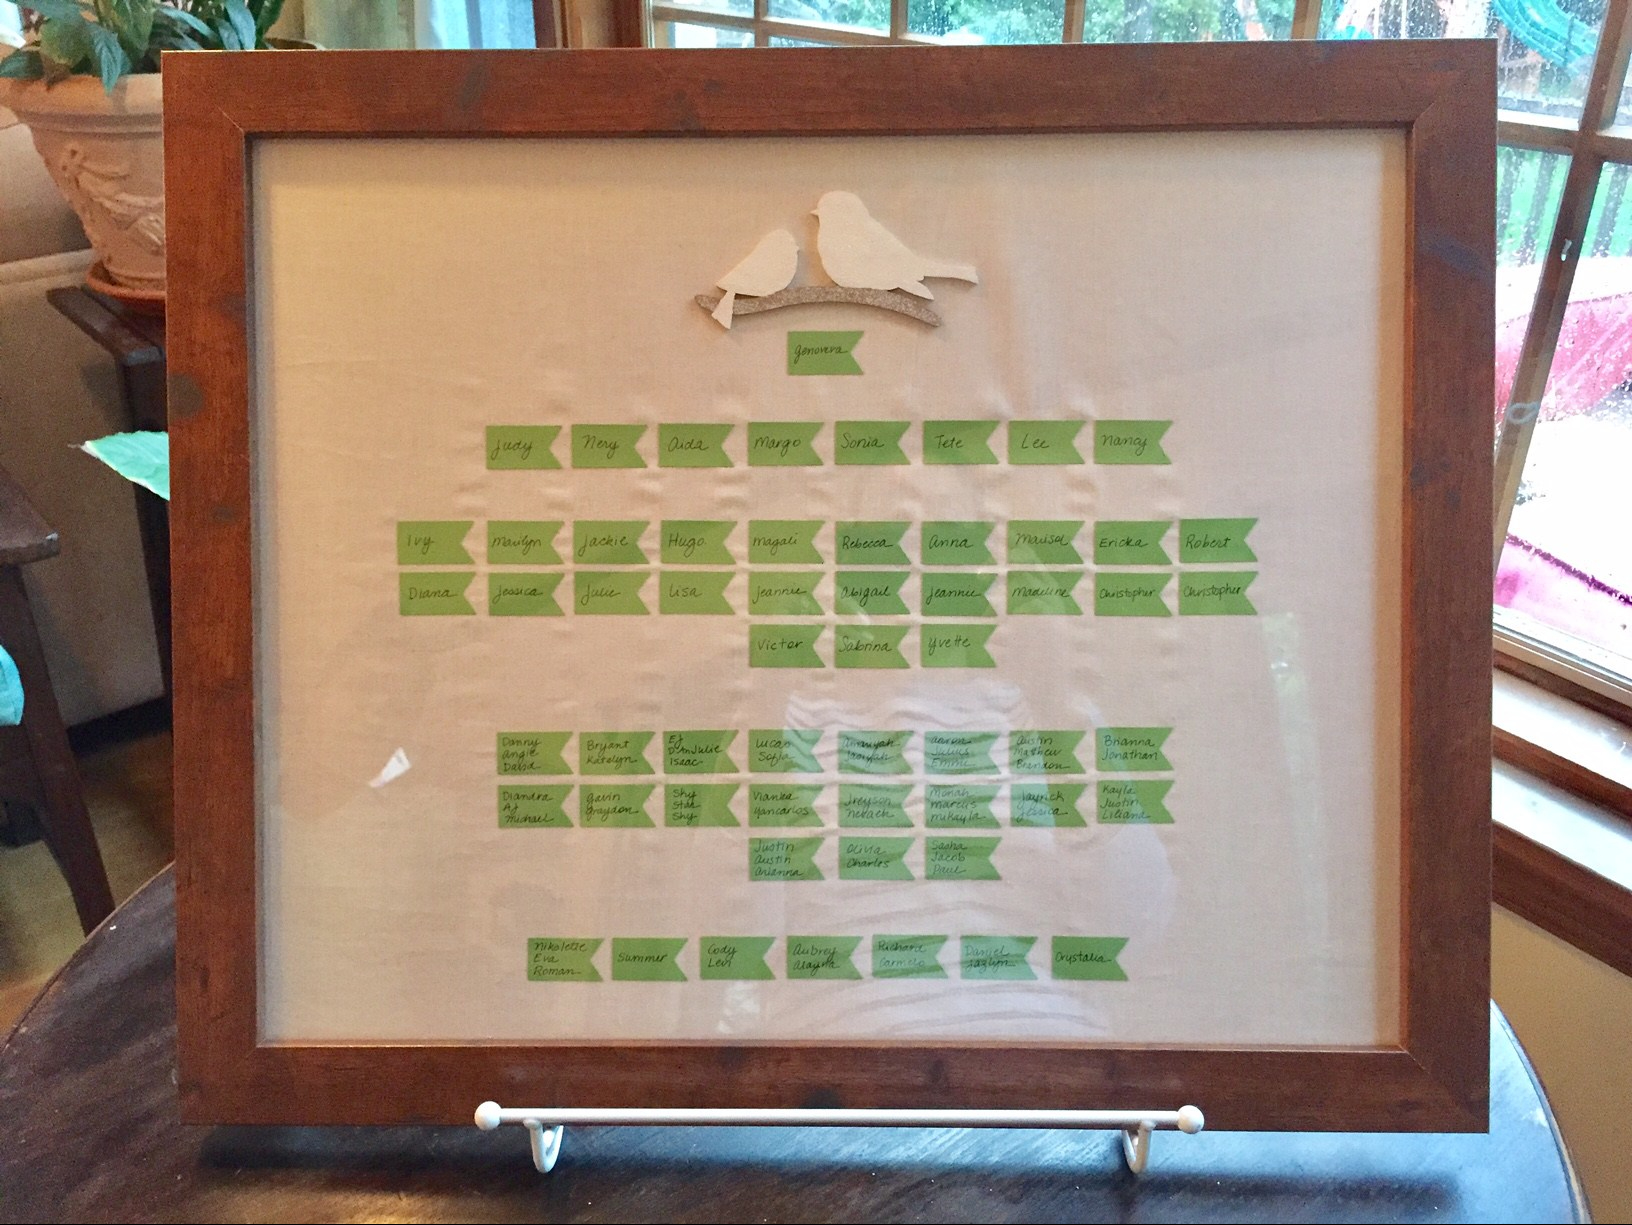
Welcome to Latina Mom in NYC. For my first post, I wanted to share a special project I made for my grandmother’s wake – a family tree. My 94 year old grandmother, Genoveva Soto, passed away on May 3, 2017. She was the matriarch of a large Puerto Rican family. I didn’t appreciate how many lives my grandmother touched until I made a family tree in her honor.
Between her children, grandchildren, great grandchildren, and great-great grandchildren, there are 93 people who are directly related to my grandmother. At her wake, we gathered to share stories and say our farewells to a very special woman. Younger family members enjoyed seeing where they fell in the Soto family tree. I really enjoyed making this project and sharing it with my family.
Below are the materials I used to make it:
- 16″ x 20″ Studio Decor frame
- 17″ x 21″ cotton fabric for the background
- The birds are a wood blank I painted and glittered
- Martha Stewart multi-surface paint and glitter
- Fiskars 1.5″ banner punch
- Green card stock paper
- Sharpie fine point marker
- All-purpose adhesive to apply wood blank and banners to fabric
- Repositionable or all-purpose adhesive to apply the fabric to the backer board
Below are the steps for making this family tree:
Paint & Glitter Bird: Paint the bird wood blank. Allow the paint to dry completely before glittering. To glitter, apply all-purpose adhesive to the areas you want to glitter. Sprinkle glitter over adhesive, then tap off excess glitter. Allow adhesive and glitter to dry and set.
Wrap Backer Board in Fabric: Spray repositionable adhesive on backer board. Wrap fabric over the front and sides of the backer board. Use a credit card or ruler to remove wrinkles and smooth out fabric. You can use clear tape or adhesive to affix the fabric to the back of the backer board.
Punch Out & Label Banners: Punch banners out of card stock paper using the Fiskar banner punch. Use a fine point Sharpie marker to write the names on the banners. Depending on the number of people you want to include on your family tree, you may need to add more than one name to each banner.
Layout your Design: Dry fit your layout onto the fabric-wrapped backer board to determine placement and spacing for each item. I placed the frame on the backer board without the glass to get a sense of how it would look assembled. Once you’re happy with the layout, start affixing each item to the fabric-wrapped backer board using all-purpose adhesive. Brush a light coat of adhesive on the back of the bird and each banner, then place on the fabric. Allow to dry completely before you assemble the frame.
The most difficult part of this project was gathering all the names. Every time I thought I was done. I would get a text or email with a new name to add to the family tree. During a difficult time, it was a nice distraction, and a keepsake I will value and display in my home.
If you make your own family tree, please share pictures and use #latinamominnyc. I would love to see what you make.
MyBlog
August 14, 2025 at 2:04 pmitstitle
excerptsa