10 Tips for Organizing Your Craft Space
When Enrique and I were pregnant with Sofia, we knew we had to convert the room we used for our craft and office space into her nursery. After considering our options, we decided to set up our new craft and office space in the basement. My husband decided to keep his traditional desk set up. I took a little time to consider what I needed in my new craft space. Here are 10 tips for organizing your craft space.

Tip 1 – Consider Your Furniture Needs
For my new craft space, I didn’t want a traditional desk. My priorities were:
- a work surface long enough for my sewing machine and laptop
- organization
- lots of storage options for my craft supplies
I decided on the Elfa FreeStanding System from the Container Store. I was able to customize the system online to fit the nook I wanted to use as my new craft space and add the functionality I wanted. It’s been 3 years and I’ve been able to adjust the shelves as my needs change.
At least twice a year, the Container Store has their Elfa sale for 25% off. If you can wait, design your system in advance and buy when it’s on sale.

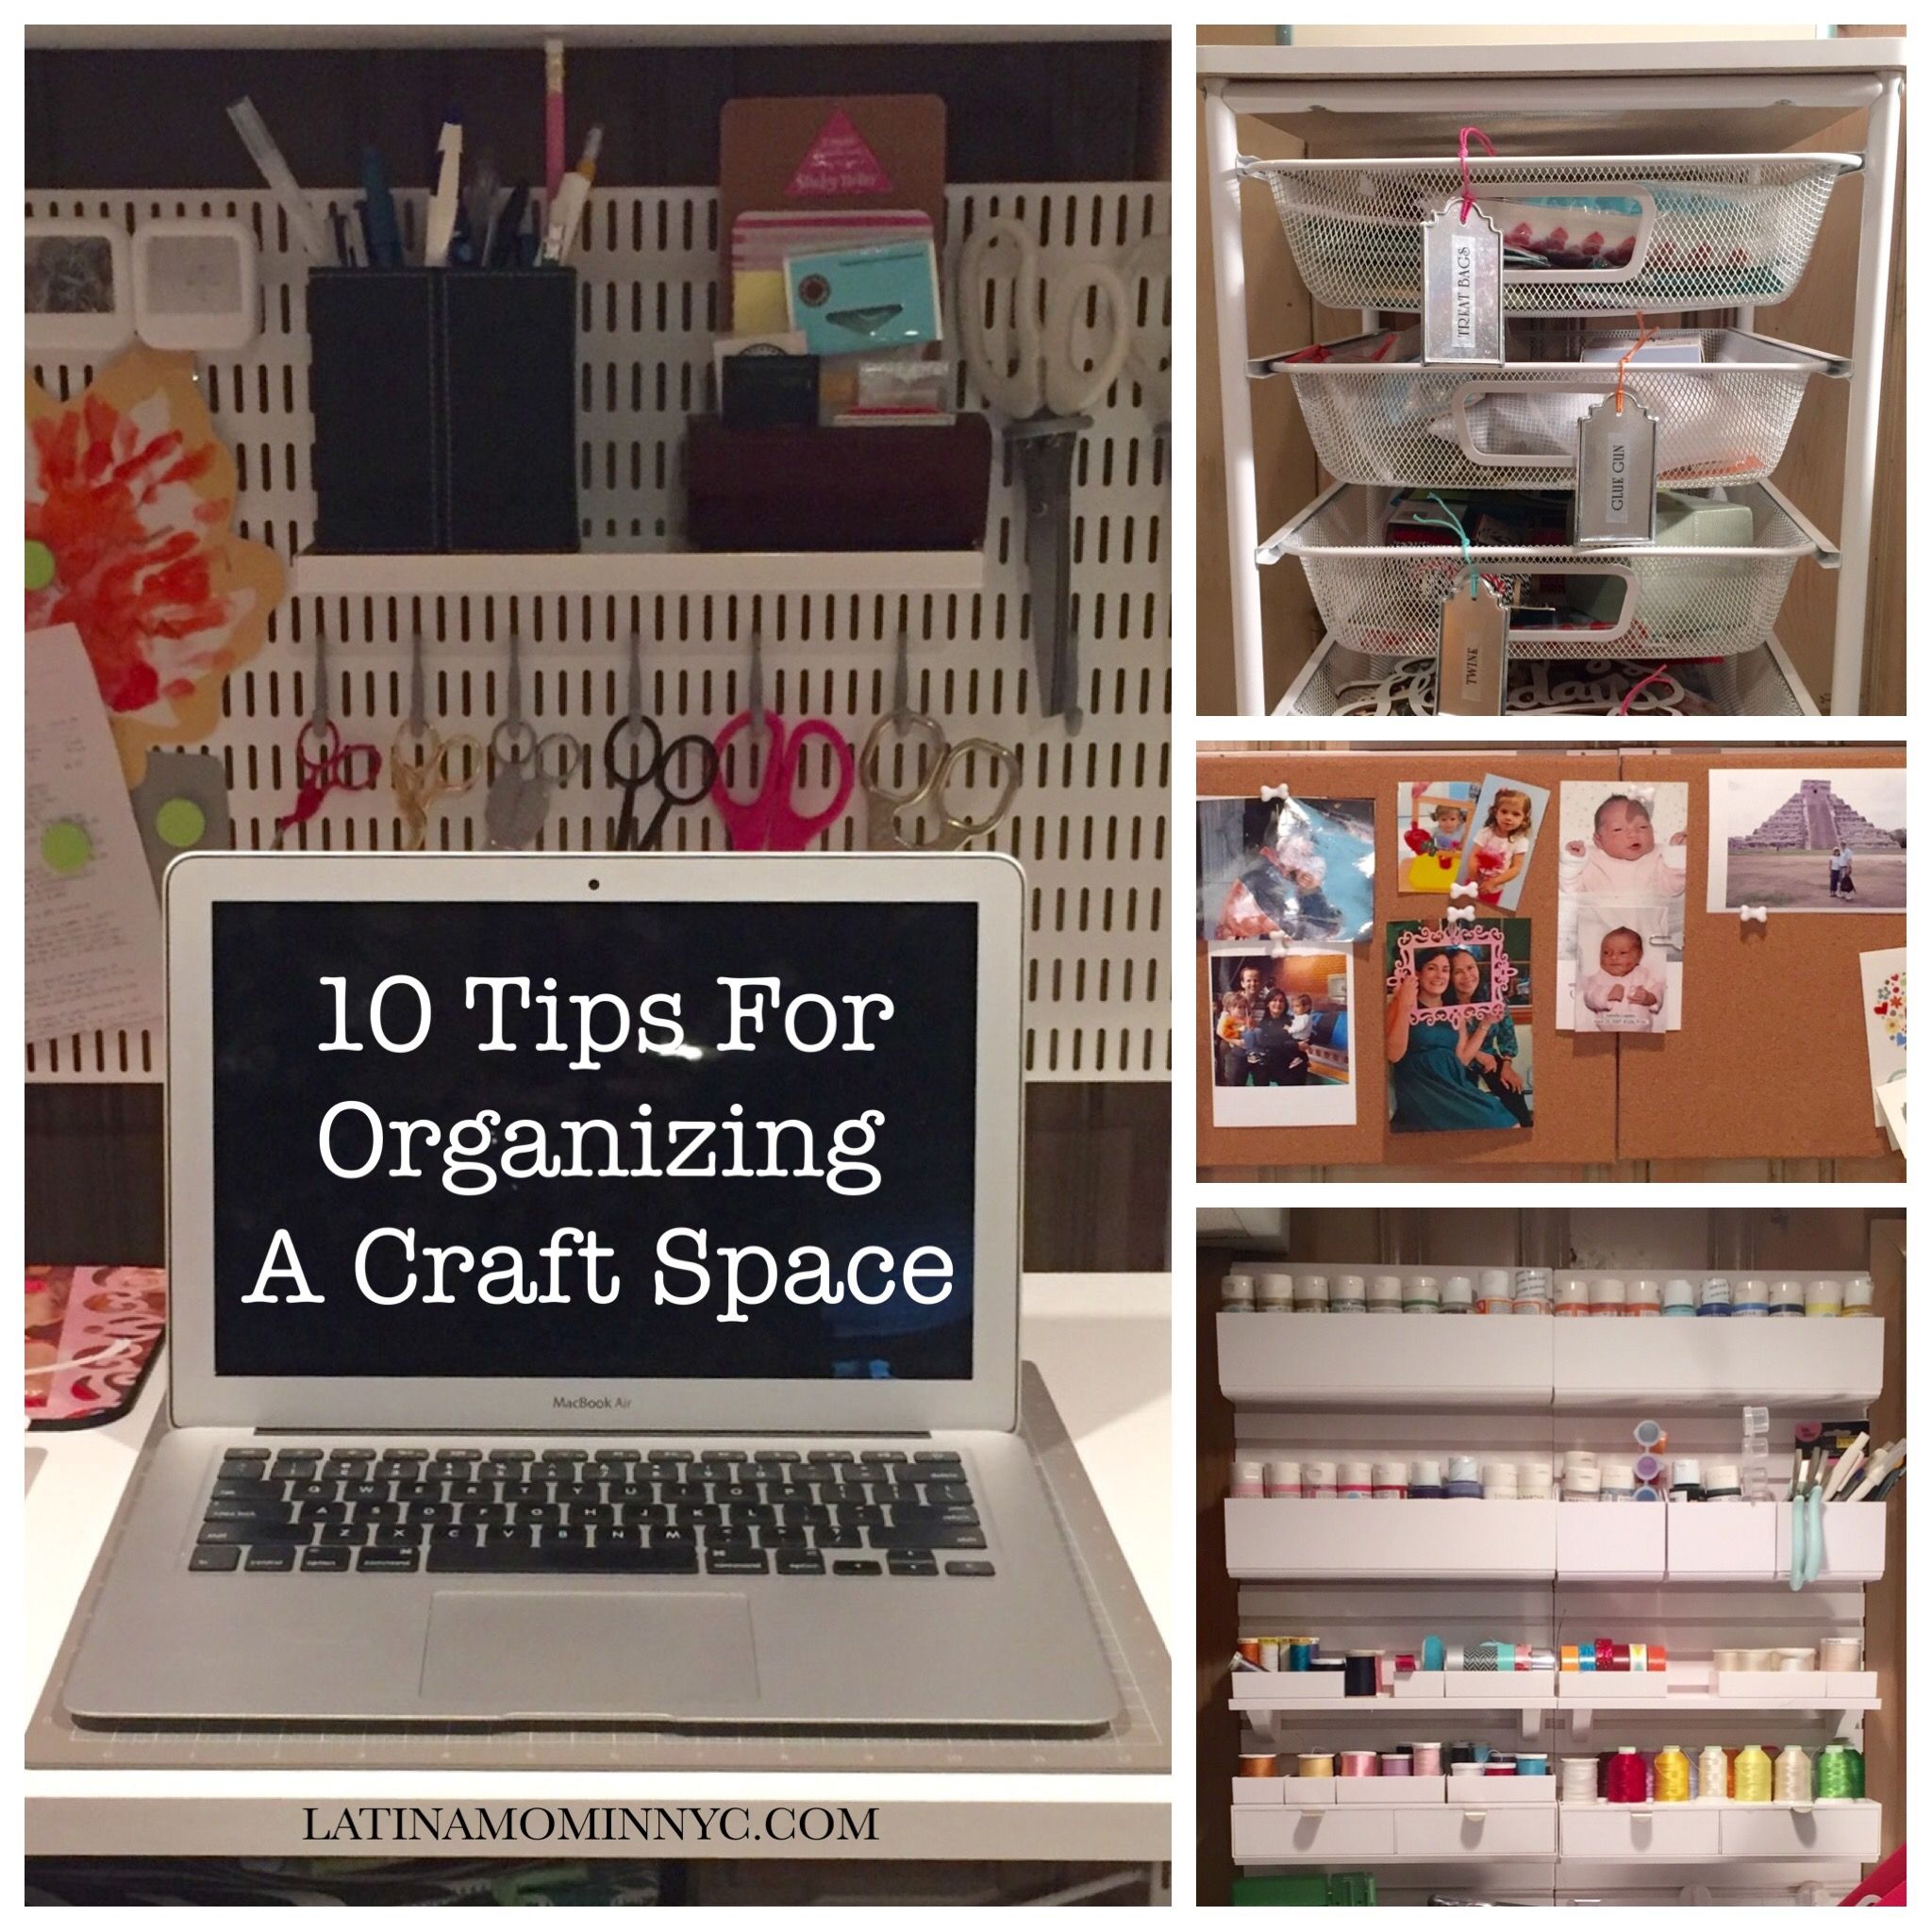
Tip 2 – Reduce Desktop Clutter with Utility or Peg Boards
Elfa has a great customizable utility or peg board system. They sell a variety of accessories, including hooks, trays and boxes, which snap onto the utility board. I use hooks to display my collection of scissors. They look pretty and are handy when I’m working at my desk. I use trays to keep small objects organized, such as pin cushions, pens and paper clips.

Tip 3 – Maximize Space with Shelves and Wall Organization Systems
In my craft space, I use the Martha Stewart wall manager system to organize paints, thread and washi tape. The system in my craft space has been discontinued but there are similar options available at Staples and the Container Store. You can add color to your space while organizing smaller items.
Tip 4 – Consider Your Storage Options
You don’t have to spend a lot of money to create a cohesive look in your craft space. I use a combination of IKEA Tjena boxes, document and photo boxes, and stackable storage bins with lids. I suggest you use multiples of the same boxes and boxes which stack well with each other to minimize wasting shelf space. Start by considering what you’re storing, how big it is, how many you have, and where you want to store it. Make a list and purchase a few more than you think you’ll need. Worse case, you can always return the items you don’t use. It’s better to have extras on hand than to make multiple trips to the store.

Tip 5 – Get Yourself a Label Maker or Print Out Labels
As you organize and layout your space, label your boxes, bins and drawers. It’s unrealistic to think that you’re going to remember what’s in every box, bin and drawer. The key is to organize like items together so you can easily find what you’re looking for. You can use sturdy decorative tags, like the metal tags I found at Target, to label drawers.

Tip 6 – Select Task Lighting with USB Port
My craft space is in the basement so overhead and task lighting is important. I purchased this organizer task lamp at Target. It has a power outlet and a USB port so I can charge my phone easily. I was pleasantly surprised. This lamp is inexpensive and functional. It’s available in a variety of colors so you can add a pop of color to your craft space.
Tip 7 – Organize Your Gift Wrap in a Tall Recycling Bin
I decided to repurpose a tall recycling bin as a gift wrap holder. It’s tall enough that my gift wrap stands neatly and I can place it in a corner.
Tip 8 – Invest in a Wireless Printer
My Canon wireless printer allows me to print documents and photos in various sizes from any device connected to my WIFI. I don’t have to worry about wires. It’s white and compact so it blends into my craft space seamlessly and is always ready to print. I use it all the time to print party decorations and favors. I really love it.

Tip 9 – Create an Inspiration Board
Your craft space reflects your personality and is your happy place. Surround yourself with pictures and things which make you smile. My inspiration board has family pictures, my children’s artwork and cards I’ve received from friends. It’s a cork board which I can switch out easily.
Tip 10 – Display Your Projects Using Command Adhesive Hooks
Between seasons, I like to store and display my projects on the back of my laundry room door. I use Command adhesive hooks because they can be removed or repositioned without damaging the door surface and are available in different sizes and colors.
These tips for organizing your craft space can be applied whether you have an entire room or a corner in the basement, like me. If you make a plan ahead of time, it won’t be overwhelming and you’ll have a space where you can be inspired and creative.
I’m curious to hear how you organize your craft space and supplies. Please share your organizing tips in the comments section and tag your pictures using #latinamominnyc
Happy Crafting!
Jackie
Tired of searching YouTube for Cricut tutorials? Join me in the Michaels Community Classroom for a two-hour Beginner Cricut Class. It’s a great introductory class for those new to Cricut and Design Space. Private classes are also available.
Join the Latina Mom in NYC Group for more crafts, deals and quick shares.
Share your comments about this post. We want to hear from you.