How to Personalize Glasses from the Dollar Tree
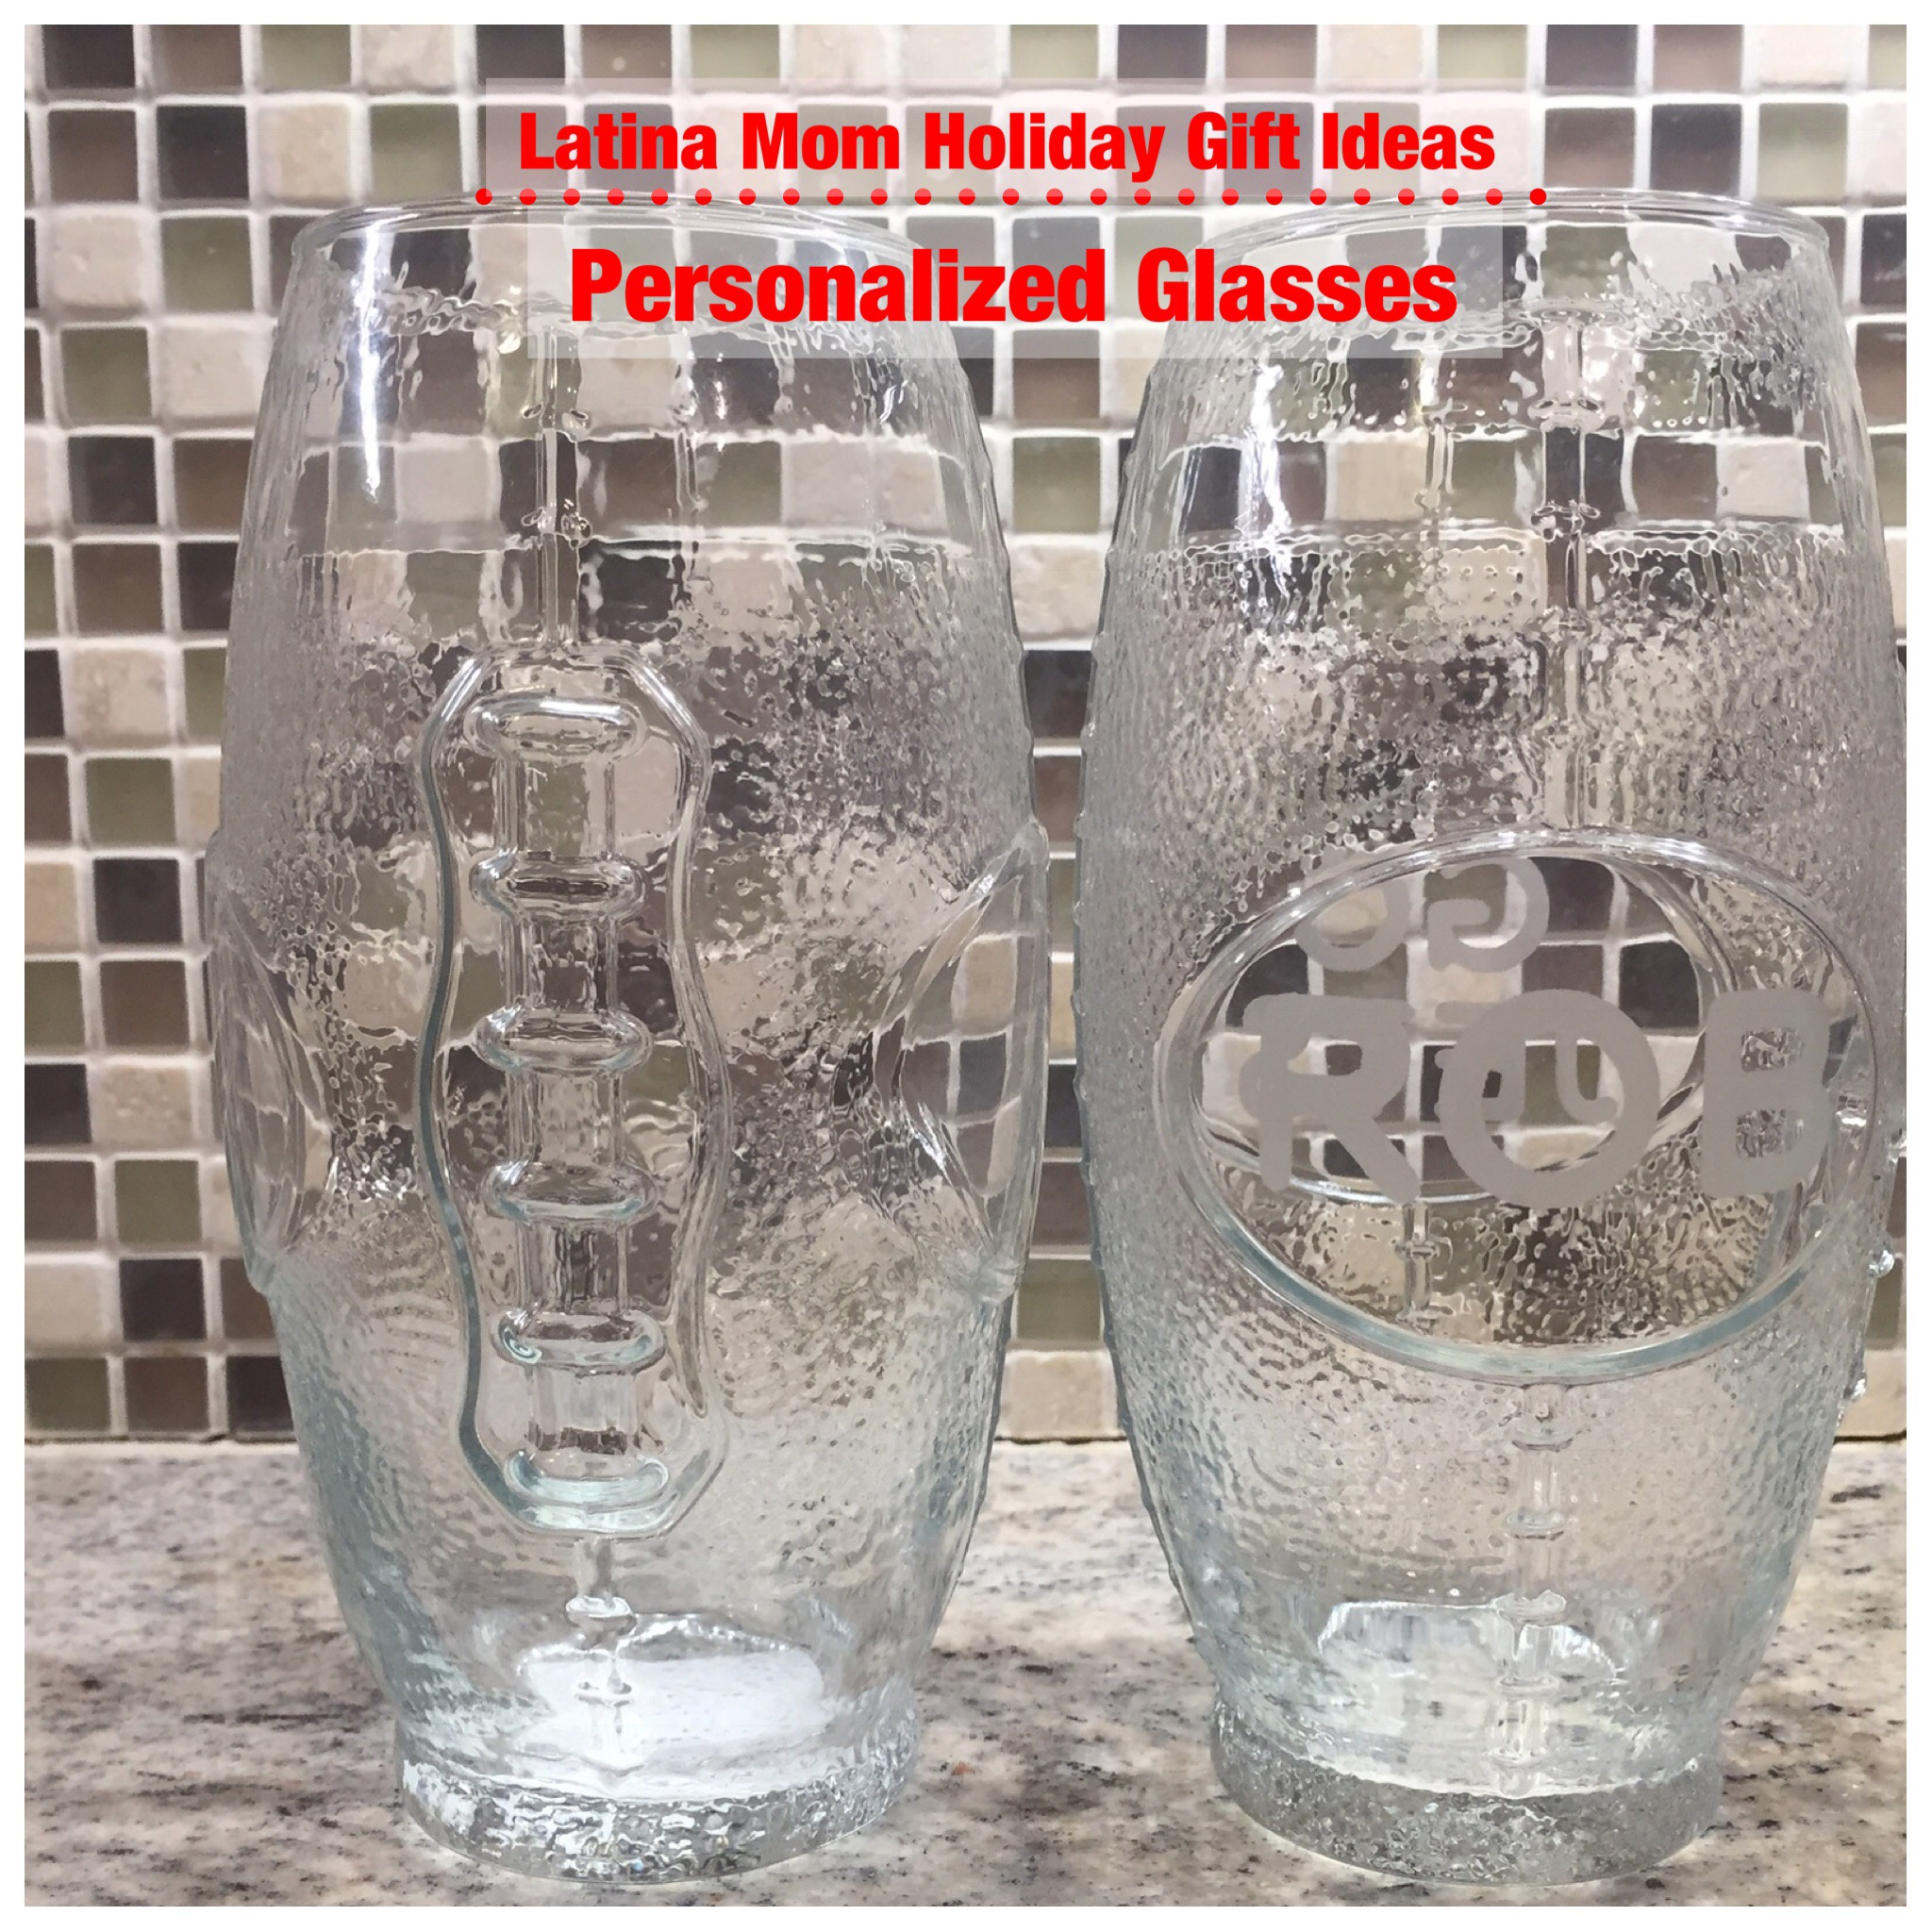
I can’t believe next week is Thanksgiving. I’ve been reviewing the Black Friday circulars and thinking about my shopping list. This year, I want to make some of my holiday gifts and show you how you can make great gifts on a budget. Here’s my first holiday gift idea – personalized glasses from Dollar Tree. I personalized a football-shaped glass tumbler with my brother in law’s name and his favorite football team.


For this project, you will need:
- A glass tumbler or mug
- Glass Etching Cream
- Adhesive stencil or letters
- Rubbing alcohol
- Cotton ball or paper towel
- Squeegee or craft stick
- Dish or paper plate for the etching cream
- Disposable gloves
Tips: When you purchase your supplies, keep in mind that you can’t reuse the stencils because you will need to rinse them under running water. Make sure you have enough letters or designs for the number of glasses you will be making.
Also, you can get the smallest size bottle of glass etching cream available at your local craft store because you don’t need a lot for this project.
Step 1 – Select and Prepare your Glassware
Etching works best on a smooth surface. This football-shaped tumbler is textured but the area I’m etching is smooth which works great. I purchased this football-shaped tumbler at the Dollar Tree. It caught my eye and I knew I had to use it for a project.
Use the rubbing alcohol and a cotton ball or paper towel to clean the glass surface. Focus on the area you will be stenciling. The alcohol removes any residue that could prevent the etching cream from working properly.
Tip: The Dollar Tree and Walmart have an affordable selection of glassware and barware that are great for this project, especially if it’s your first time etching glass.

Step 2 – Apply your Adhesive Stencil or Letters to the Glass
For this project, I made stencils using my Cricut and adhesive stencil film. If you don’t have a Cricut, you can purchase adhesive stencils or letters from your local craft store. These letters are 3/4″ H. When you apply the stencil to the glass, make sure it is completely smooth, especially on the inside edges of the letters. If there are bubbles, the etching cream will seep until the stencil and your lines won’t be crisp.
Tip: Some crafters like to tape off the outer edges of the stencil. I tend to skip this step especially if I have enough space on the sides of the design.

Step 3 – Apply the Etching Cream
The etching cream has the consistency of pudding. Squeeze a small amount on etching cream onto a dish or paper plate and stir it to smoothen it out. Apply a thick layer of etching cream over the design area using a squeegee or craft stick (see above image for reference).
Tip: Keep in mind that any glass exposed to the etching cream will take on a frosted look. If you make a mistake, immediately wipe off any cream outside of your design area with a damp paper towel.
Step 4 – Let the Etching Cream Work It’s Magic
The etching cream causes a chemical reaction which causes the clear glass to become permanently frosted. Read the instructions on your etching cream to determine how long it should sit. For the Martha Stewart etching cream, you need to wait 15 minutes. Set your timer and clean up.
Step 5 – Rinse Off the Etching Cream
Put on your disposable gloves and rinse the glass under running water to remove the etching cream. Peel off the stencil. You now have a personalized etched glass. The etching is permanent and is top rack dishwasher safe.


Below are monogrammed beer mugs I made for my husband for Father’s Day. He likes to keep them in our freezer so he can serve beer in chilled mugs when friends come over.

This is a great gift for football fans, Dad or your hubby. Give it a try – I want to see how creative you get with your personalization. Remember to tag your pictures #latinamominnyc.
Happy Thanksgiving!!
Jackie
Join the Latina Mom in NYC Group for more crafts, deals and quick shares.
Share your comments about this post. We want to hear from you.