How to Make a First Day of School Chalkboard Sign
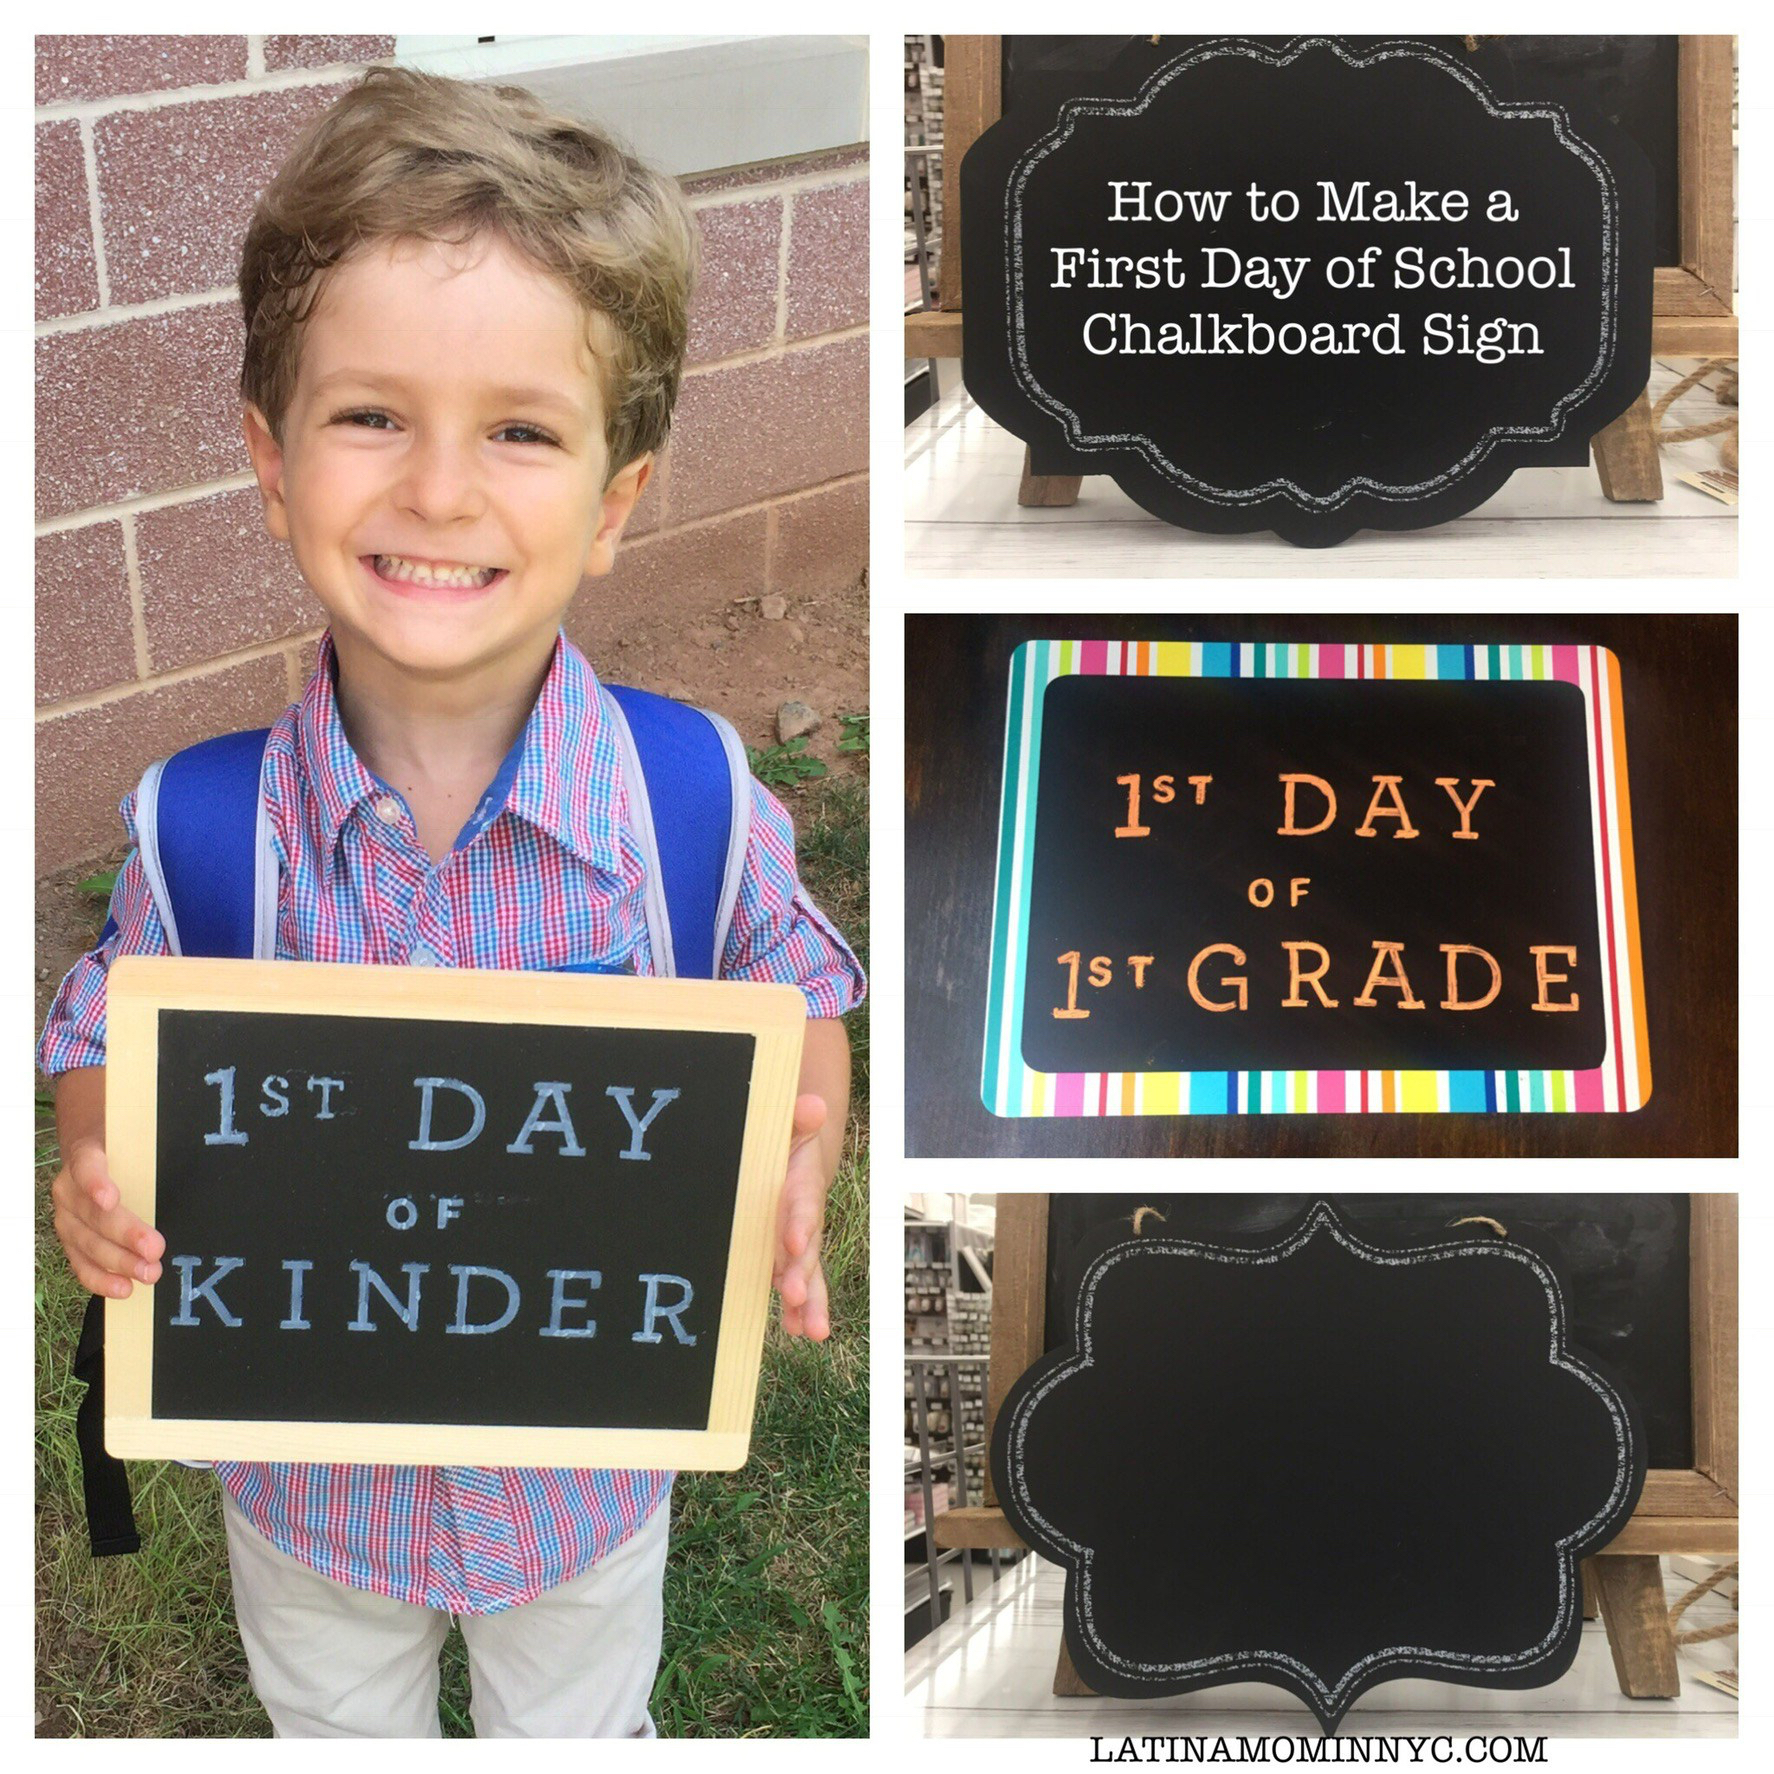
The first day of school picture is a tradition in the Landaeta family. It is a great way to capture this annual milestone for your child. For Lucas’ first day of kindergarten, I waited until the night before to make his first day of school chalkboard sign. I procrastinated because I was in denial that my baby was old enough to start “big boy” school. As you prepare for the new school year, here’s a tutorial for how to make a first day of school chalkboard sign.

For this project, you’ll need:
- a chalkboard sign
- liquid chalk marker
- an adhesive alphabet stencil
- old credit card or scraper
I found the above chalkboard sign at Target. The bright striped border caught my eye. Michaels and Walmart also have a good selection of chalkboard signs in different sizes and shapes. Try to select a size that your child can easily hold.
For the lettering, I used an orange chalk marker to made the sign bright and cheerful. Chalk markers are available in different colors, adding a pop of color to your sign. They are great because they write like a traditional marker.
I prefer to use adhesive stencils for my lettering because they stick to the surface and remain in place as you apply the chalk. Michaels has a great selection of alphabet stencils in different font styles. Most recently, I’ve designed my own stencils using my Cricut Explore Air and stencil vinyl.
How to Apply the Stencil
- Shake the marker well with the cap on, then press the tip down on a paper towel to saturate the tip and get the chalk flowing. Be careful not to over saturate the marker tip.
- Adhere the stencil onto your chalkboard. Use an old credit card or scraper to smooth out the stencil. You want to be sure all the edges are smooth and flat to prevent the liquid chalk from flowing under the stencil.
- Lightly brush the marker tip over each letter (see image above). Keep your layers light to avoid bleeding under the stencil. Allow the first layer of chalk to dry completely before you add a second layer.
- Carefully remove the stencil while the liquid chalk is still wet. If the edges of the letters aren’t clean, you can fill them in or use a damp Q-tip to touch up the edges.
The good thing about stenciling with liquid chalk is—if you mess up, you can wipe the board clean and start again.

The first day of school is a little emotional for me. It reminds me that Lucas and Sofia are getting older and more independent. I will likely tear up again this year as they wave good bye and walk into the school. These pictures are a fond memory we’ll be able to look back on when they’re all grown up.
Happy Crafting!
Jackie
Join the Latina Mom in NYC Group for more crafts, deals and quick shares.


Sonia
August 21, 2017 at 4:15 pmThis is a great idea cause you could can also use for next year/other events. You can also make your board from scratch. I found a chalkboard contact paper roll and use any frames you are storing away/no longer use.
jacquelineflandaeta@gmail.com
August 22, 2017 at 4:22 pmI like your idea of recycling unused frames. I will add it to my project list for a future post.
Valentine's Day Gifts for Teachers | Latina Mom in NYC
January 31, 2018 at 8:54 pm[…] a stencil on my Cricut and used liquid chalk to apply the text to the sign. See my post – How to Make A Chalkboard Sign – for the detailed steps. I’m planning on giving Ms. Cathy her gift early so she can […]
Mask Organizer DIYs - Latina Mom in NYC
August 24, 2020 at 2:26 pm[…] I prepare for the new school year by ordering school supplies and crafting first day of school signs for the kids. This year, I’m adding face masks and a mask organizer to my back to school […]
Best diy ideas michaels chalkboard table decor of 2021 - Diy Home Craft Ideas
May 26, 2021 at 10:10 pm[…] Source: How to Make a First Day of School Chalkboard Sign – Latina Mom in NYC […]